
Carpenter bee activity is essential for all plant and animal life. Male and female carpenter bees are renowned for digging into soft wooden structures. However, Once you spot any half-inch entrance holes, removing them as soon as possible is essential to stop a severe carpenter bee infestation. This article will teach you how to set up a carpenter bee trap without killing the bees and destroying our ecosystem.
Tools & Materials Needed:
- Small chain, wire, or cable
- Nails
- ½-inch drill bit
- Hammer
- Eye hook screw
- Circular saw or handsaw
- Drill
- 6-inch-wide plank of wood
- Mason jar with lid
- Honey or sugar water (optional)
- 4×4 piece of untreated wood (pine or cedar)
- Measuring tape
STEP 1: Cut your lumber.
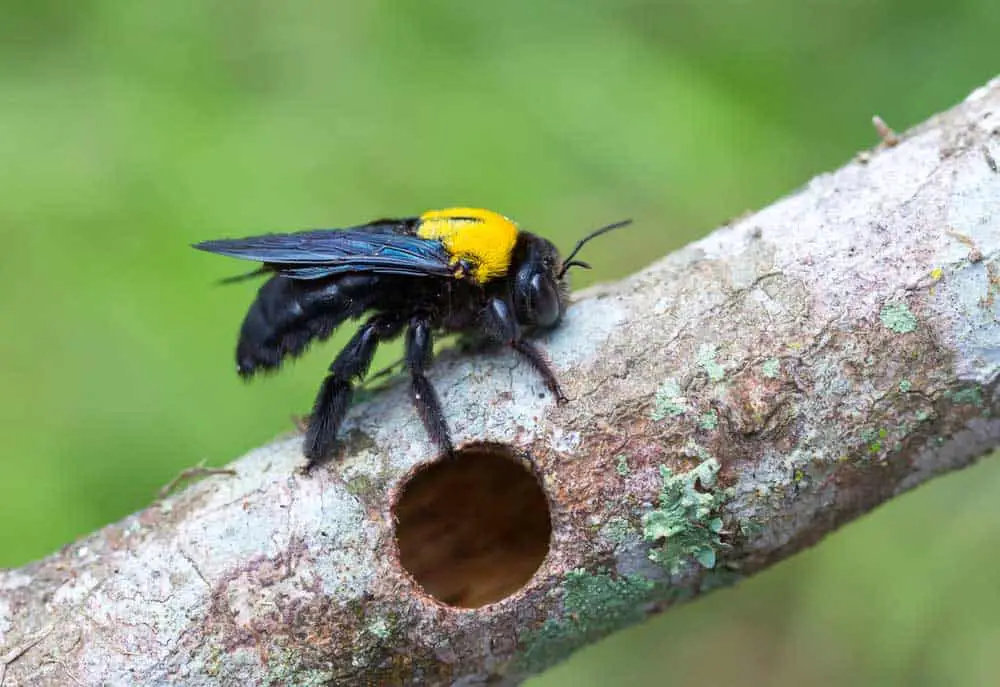
Carpenter bees like to make small holes in softwood.
Once you have decided on your 4×4 untreated piece of wood for your bee catcher, carve it down to the correct size. Take measurements from one side of the block out eight inches and make a cut mark. Use your handsaw or circular saw to cut the block.
STEP 2: Building the Bee Tunnels.
If holes are left untended, you could have a severe infestation.
Next, let’s build the first tunnel for your carpenter bee trap. Start by measuring and marking a midpoint on one of the cut ends of your wood. Use your power drill to drill all the way through, using a 1/2-inch drill bit.
Once complete, you’ll need to drill three more holes on the long side at an upward angle using the same drill bit.
STEP 3: Build the “roof” of the trap.
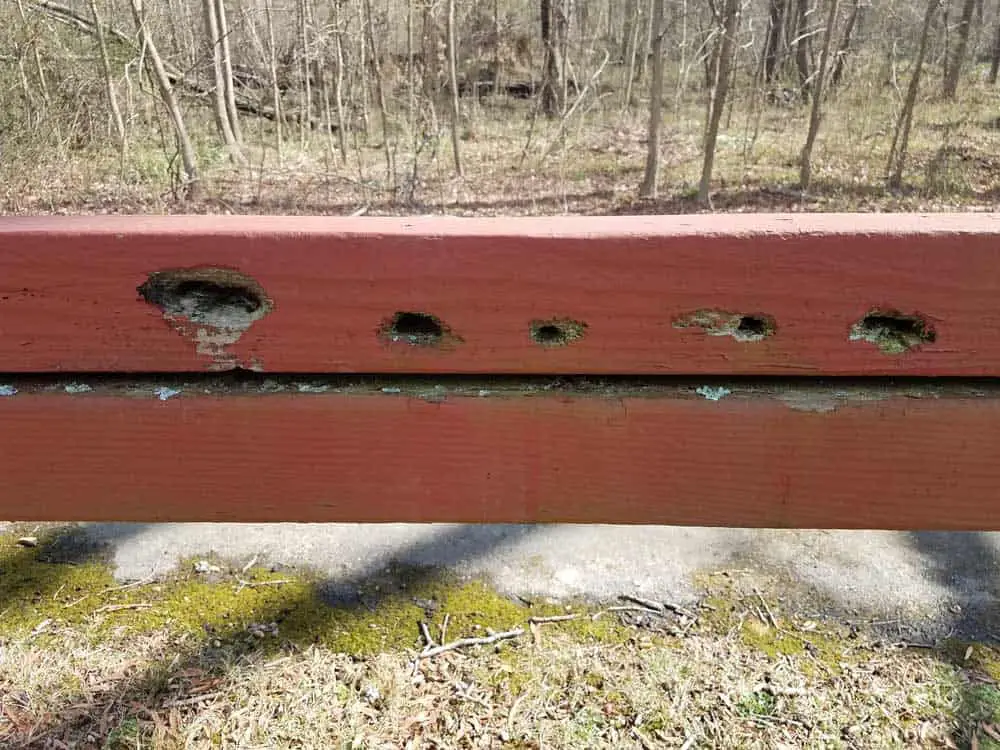
Carpenter bees can quickly damage wooden structures.
To make the roof, we will use the six-inch-wide plank. Measure, mark, and cut the correct length for your trap, ensuring a 1-inch overhang on both sides. Place the roof on top of your wooden structure, and nail it with your hammer.
STEP 4: Make a Hole in Your Mason Jar Lid.
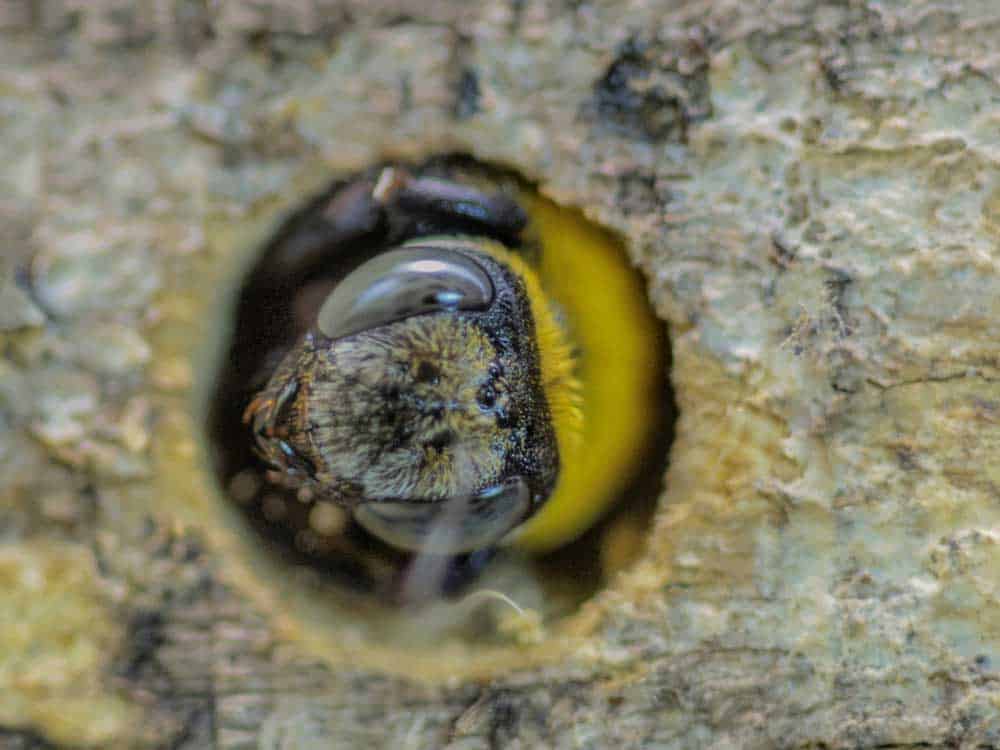
Carpenter bees like to forage.
Take the lid off your mason jar and place it on an additional piece of scrap wood. Mark the center of the slide, and use a 1/2-inch drill bit to drill through the lid. Your lid will be the transition point for bees to move from the block to the mason jar and vice versa.
STEP 5: Join Your Jar to Your Base.
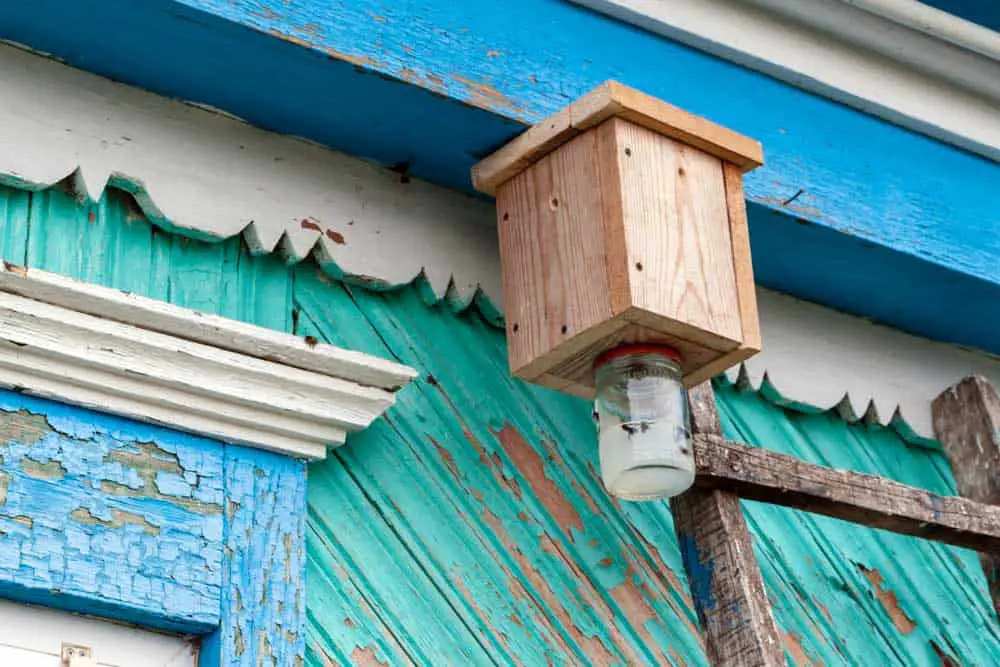
Carpenter bee traps can safely house bees and prevent them from doing too much damage.
Next, attach the lid of your mason jar to the base of your block, using a hammer and nails to hold it in place. The hole in the pot needs to line up with the central hole of your league.
Ensure the lid gets tightly locked to the block so there is no space for bees to get out. Once you have secured the slide, screw the lid onto your jar, and add sugar, water, or honey.
STEP 6: Installing the Trap.
Finally, it is time to install your newly-made carpenter bee trap. Locate the middle spot of your web to ensure it doesn’t hang crookedly.
Use a tiny drill bit to create a pilot hole, wide enough for a large hook to get through. Once you fasten your theme to the roof, slip a metal chain, cable, or wire through the arch to secure your trap to the ceiling. It would be best if you propped the side not containing a hole against the wall, which helps stabilize your web.
Safety Considerations
- Do not undertake any action with your power tools or saws without wearing protective gear, gloves, and safety glasses.
- Always cut on stable surfaces to reduce the chance of accidents occurring.
Conclusion
There you have it, all of the tools you need to create carpenter bee traps for outside your home.
Get in touch if you want to learn more about how we can help your business.
