
Whether working with drywall or wood or doing automotive work, sanding is a necessary evil. But, you pay for making those smooth surfaces with the dust created. It doesn’t have to be that way. Sanding with a lubricant makes it possible to achieve a smooth glossy finish without dealing with the dusty mess. This guide will explain wet sanding and how to do it right. We will also look at typical applications for this method and how it differs from dry sanding.
What is Wet Sanding
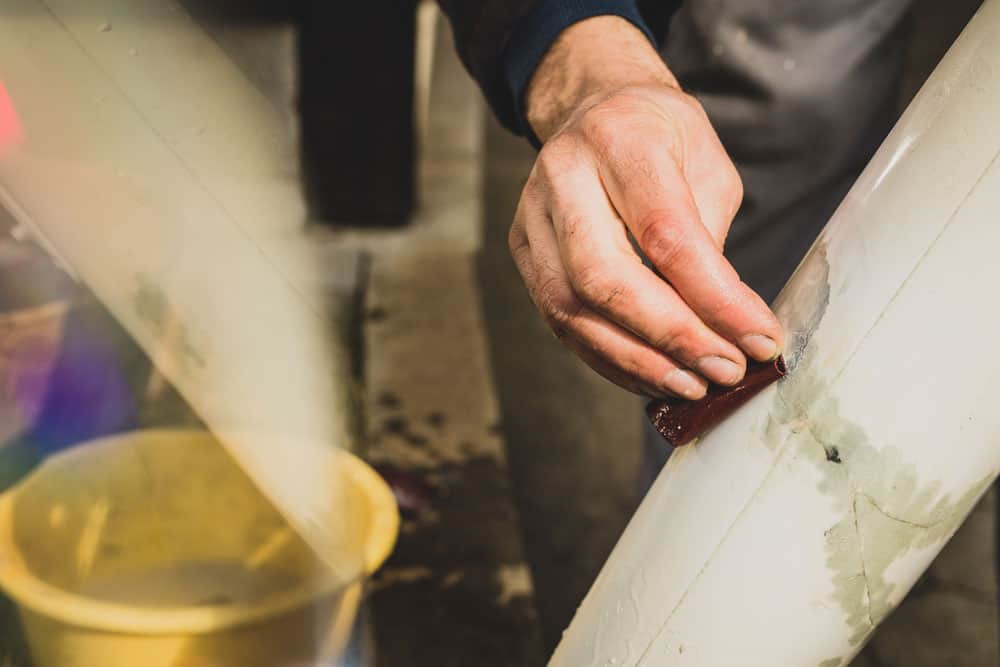
Wet Sanding a Repaired Wooden Pole
Wet sanding is a safer, cleaner alternative to dry sanding. It uses water or some other liquid to reduce the bits of dust that sanding will produce.
You can perform damp sanding using either wet sandpaper or abrasive sponges.
Typical Applications of Wet Sanding
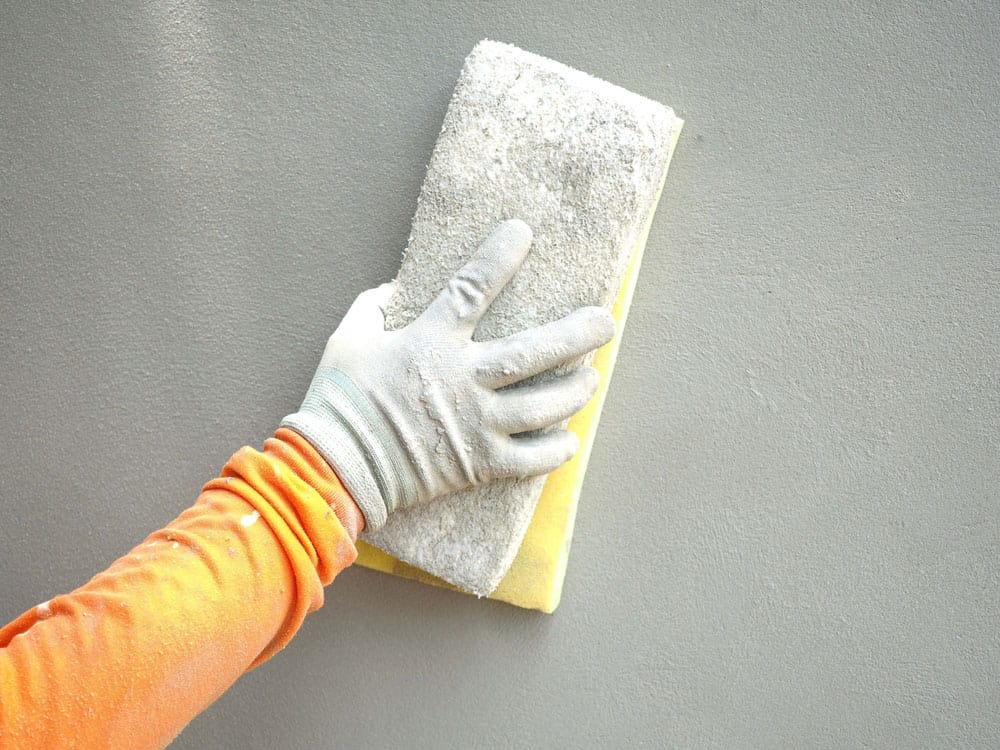
Sanding Drywall with a Sponge
Wet Sanding Wood
When sanding wood, you must be careful not to use too much water. Wood tends to absorb moister and can warp or deform when left too wet.
For most wood projects, a palm sander or block sander works best.
Wet Sanding Drywall
Seams and any drywall repairs you make are going to require sanding. No matter how carefully you apply the mud, you’ll still see shallow scratches on the finish and, at worst, a cat’s head.
While you can use fine-grit wet sandpaper to smooth these out, a damp sponge is often preferable.
Wet Sanding Metal
Wet sanding metal can provide a flawless glossy finish. One word of caution, make sure to reapply water often. You can also keep your sandpaper moist by dipping it in a bucket of water every few minutes.
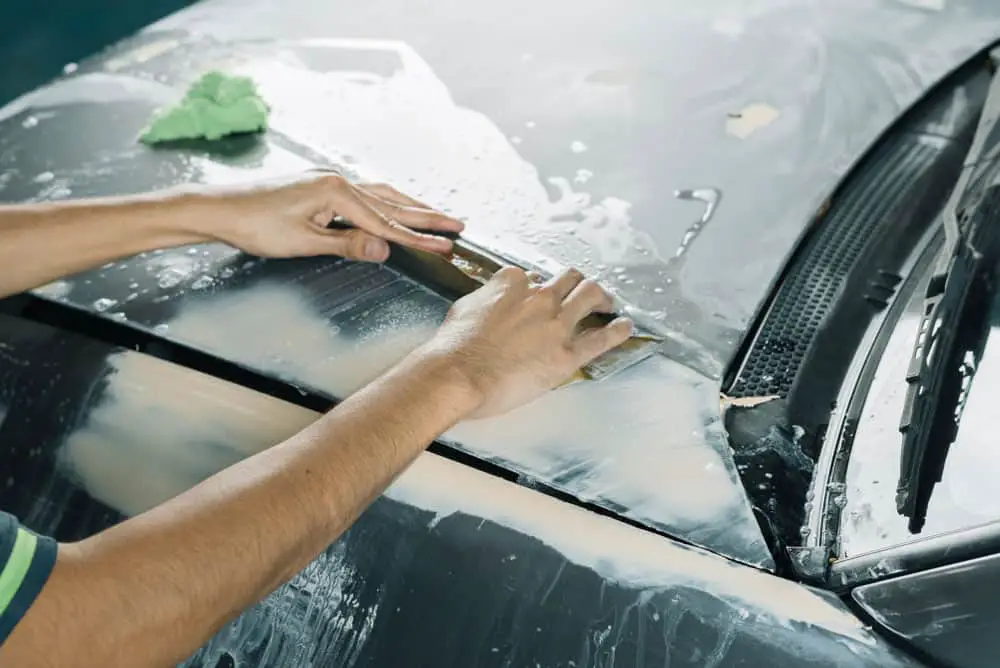
Wet Sanding a Car
Sanding with flowing water is a standard practice in autobody shops. It minimizes the dust that sanding generates that could settle and mar the finish of a vehicle. Beyond this, it removes any imperfections left by lousy technique.
For this, a mini-air sander with a polishing pad can often be employed.
How Wet sanding is Done
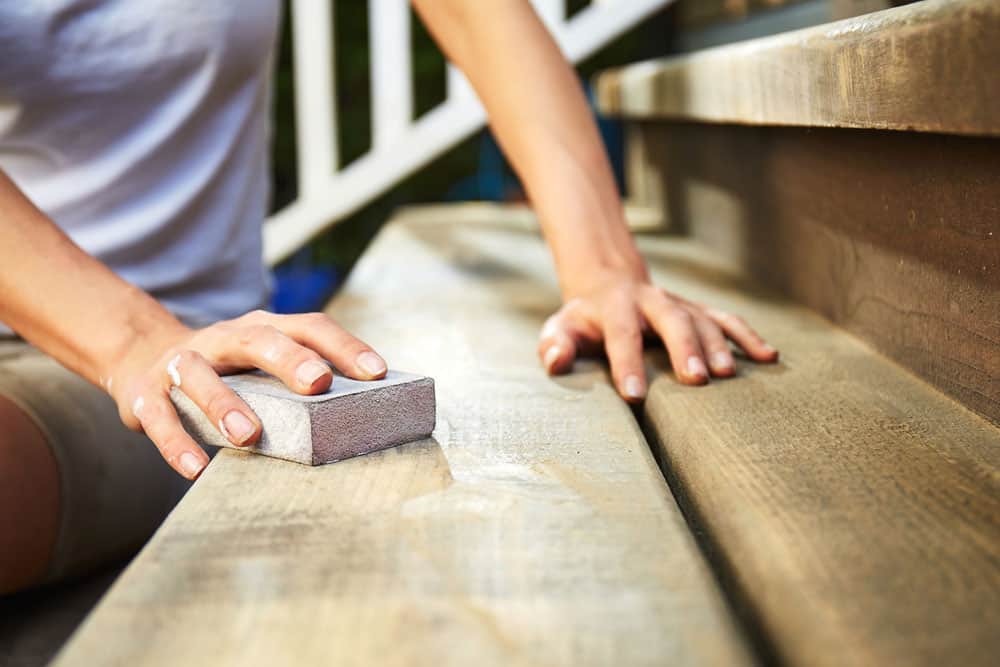
Woman Wet grinding a Wooden Staircase
What You Will Need
- Wet sandpaper or grinding sponge
- Water
- Liquid detergent (optional)
- Advanced detergent (for automotive sanding)
Step 1 Choose Your Grit
Liquids cause the sandpaper to cut slower. Because of this, you need to use a more aggressive grit than dry sanding. For example, instead of 440 grit dry, use 80 grit.
Step 2 Prepare Your Lubricant
For most applications, all you will need is water as a lubricant. However, if you are looking for a mirror finish or working with certain materials, you will need to add detergent.
For wood, ordinary liquid detergent works quite well. If you are working towards a mirror-like finish on metals, you will want to use a more advanced detergent. Specialty products are made for this purpose and used with automotive paint.
Step 3 Wet the Sponge or Sandpaper
How wet you want your sandpaper or sponge will depend on the surface you are sanding.
- When working with metals, you can’t have too much lubrication.
- For wood, too much moister can cause severe damage. Some even use a mist bottle to minimize the liquid.
- How wet you want your sponge or paper for drywall will depend on how aggressively you want to sand. The moister water you add, the more material you will remove.
How Do Wet Sanding and Dry Sanding Differ?
The most apparent difference between wet and traditional grinding is that wet sanding requires water or other liquids. Beyond this, you must use special sandpaper when sanding with water. Dry sandpaper tends to fall apart when wet. So be sure to purchase damp sandpaper.
Another difference is in the sanding process. Most people perform dry sanding using circular motions. When sanding with lubricants, people often sand in straight lines. As long as you work with the grain of your material, this can provide a near-perfect surface finish.
When Should You Wet Sand
Car Hood
It would be best to wet sand anytime you want a near-perfect ultra-glossy finish. It takes a few extra steps, but the differences in results are almost always noticeable.
Conclusion
This short primer provides the information you need to get started wet grinding. We hope you have found it helpful. As always, you can contact us with any questions.
