
As much as a miter saw is essential in many woodworking and cutting jobs, it is necessary to go for the quality. It might be quite tasking as numerous miter saws are available on the market. Simultaneously, it is more than going for the right features and brand, as there are many factors to consider.
However, we prepared this article to aid your dilemma in choosing the right miter saw, how to use it, and how to buy it. You shall gain valuable information on picking one which you shall find satisfactory.
Table of Contents
- 1. What is a Miter Saw?
- 2. Major Types of Miter Saws
- 3. What Size of Miter Saw is best?
- 4. When to Use a Miter Saw
- 5. How to Use a Miter Saw
- 6. What to Look for When Buying a Miter Saw
- 7. Should I Buy a Corded or Cordless Miter Saw?
- Summary and Final Thoughts
1. What is a Miter Saw?
A miter saw (also referred to as a chop saw) is a type of motorized saw blade that we use to make sharp and accurate crosscuts in a workpiece at a specific angle or position. A miter saw is a powerful tool we regularly use for molding and trimming. It is suitable for cutting through wood and other materials such as metal.
Figure 1. A miter saw on white background with a crosscut timber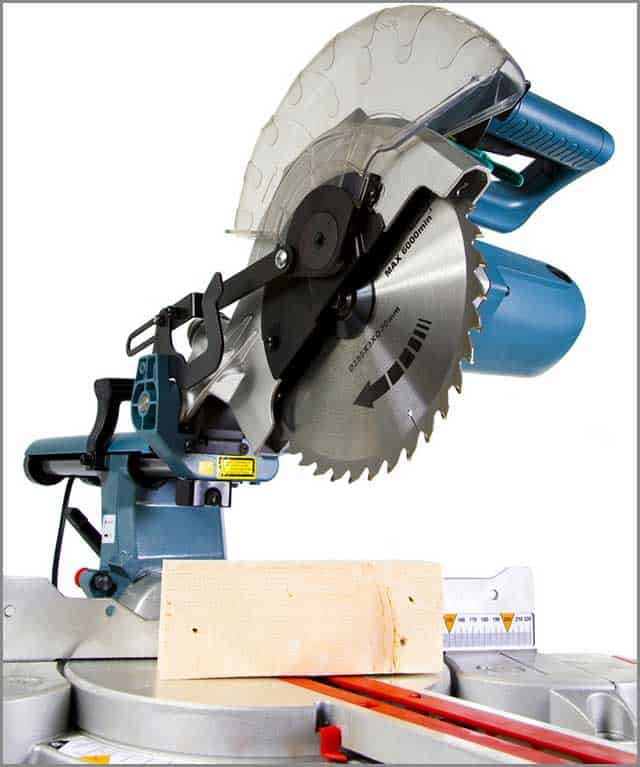
Moreover, you can also use it in cutting other materials. The miter saw cuts by dragging a circular blade in high spinning motion down onto a workpiece. You place the workpiece against a fence, ensuring a precise cutting angle between the blade’s plane and the edge of the workpiece.
2. Major Types of Miter Saws
Miter saws come in different types, and they all have distinct advantages.
2.1 Sliding Miter Saw
A sliding miter saw comes with rails to ensure the saw blade slides from the front to the rear end of the wood. In essence, it gives a much greater depth of cut than other miter saws, which possess no rails. More so, some sliding miter saws can also make a compound cut.
Figure 2. A construction worker cutting board with a sliding miter saw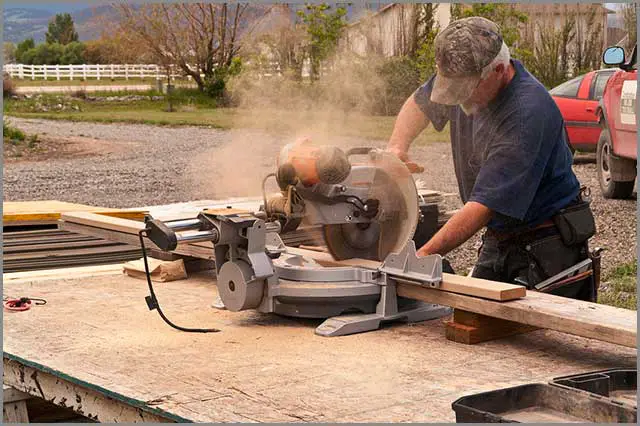
Sliding miter saws can create bevels quickly and from whichever angle. They also possess the multifunctional feature that compound miter saws have, and it slides. Moreover, it shares some similarities with a radial arm saw. One distinct benefit of using a sliding miter saw is that it gives a lengthier cut.
You can also lock the rails of this type of saw to make pull-down and straight cuts.
2.2 Compound Miter Saw
The compound miter saw is quite a multitasking saw blade. We also refer to it as a compound saw, given its feature to make two simultaneous angle cuts. It can make a miter and a bevel cut at the same time. It is specifically ideal for various types of molding and crown cutting.
Unlike the sliding miter saw, compound miter saws have no rails; as such, nothing obstructs the cutting arm. The compound miter saw blade has a pivoting arm that you can shift or tilt to an angle (besides 90 degrees). It means they are optimal for thick materials, and as such, you can make miter and bevel cuts.
Figure 3. A compound miter saw on a black background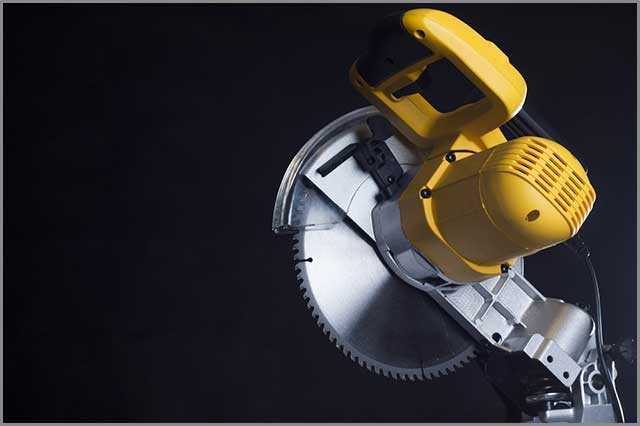
Its ability to make bevel cuts makes it a perfect tool for many projects. A miter cut is for the sole purpose of joining a material, say a wood piece.
On the other hand, a bevel cut passes through the material’s thickness, and you can use them for finishing purposes. You can also use it for further angle cuts on horizontal and vertical planes.
Simply put, a miter cut goes through a horizontal plane. In contrast, a bevel cut goes through a vertical one, and the compound miter saw is quite capable of making these cuts.
2.3 Compound Sliding Miter Saw
The compound sliding miter saw is a type of saw that possesses the combined features of the entire kind of miter saws that we have discussed. It can both make miter and bevel cuts, and it keeps rails, which means it is capable of making lengthier cuts.
The primary advantage of using a compound sliding miter saw is that it can cut through wider workpieces. However, a standard miter saw can cut through materials up to 6 to 8 inches in thickness. If you plan on missing a workpiece broader than that, you will experience some issues in making sharp and accurate cuts.
Figure 4. A man sawing lumber with a compound sliding miter saw
But with the compound sliding miter saw, that is less of an issue. For instance, a 12-inch combination sliding miter saw can easily cut through workpieces or materials that are up to 16 inches wide. It makes a whole lot of cutting jobs and projects more accessible.
2.4 Dual-Compound Sliding Miter Saw
The dual-compound sliding miter saw (which we also refer to as double bevel compound miter saw) is a saw that allows the cutter to make compound cuts in the left and right directions without the need to turn the material or workpiece over. Instead, you can easily flip the saw blade with the pivotal arm.
They are quite convenient for professional use as they make large cut ranges. They are also excellent for projects that need accurate and fair cuts, like trim and crown molding.
Figure 5. A carpenter working with a dual-compound sliding miter saw
3. What Size of Miter Saw is best?
It largely depends on the nature of the project you are working on. A miter saw with a substantial blade (say 12 inches and above) can make more profound and broader cuts. In contrast, a miter saw with a smaller blade size (below 10 inches) is relatively easy to handle and economical.
Miter saws come in various sizes, and they each fit specific job situations. Besides, having different sizes of miter saws in your possession allows you to handle a wide variety of jobs, and you should go for ones that suit your lines of work.
For instance, if you have to make some cuts on crown molding, you will need a good miter saw. But what size will be ideal? Well, this depends on the crown molding size you intend to cut. If it’s within the range of 4 to 5 inches, a 10-inch miter saw can appropriately do the job.
However, if the crown molding is more significant, say six or more inches, the best recommendation will be a 12-inch miter saw. Furthermore, if the crown is up to 9 or 10 inches, you’d want to opt for a 12-inch miter saw with a sliding blade.
Therefore, before procuring any miter saw blade size, ensure it fits your job. It is imperative to note that a smaller inch saw blade is fit for a smaller inch workpiece, and it is also the same for the saw blade and materials with bigger inches.
4. When to Use a Miter Saw
Typically, miter saws are designed to give sharp and angled cuts for trim work, molding, rafters, and other workpiece materials. They also make accurate crosscuts, and they can be quite versatile with the fitting blade for the job. It is quite an essential tool that professional carpenters and DIYers must have.
Therefore, the best time to put the miter saw to fair use is in making precise cuts for picture frames, door frames, crown molding, window casings, and lots more. They are construction tools.
5. How to Use a Miter Saw
5.1 Safety First
Before operating the saw, you must ensure you are on your safety glasses and hearing protection.
While the blade is in motion cutting through a workpiece, keep your fingers at least 6 inches from the table.
Some saw lines possess lines that indicate danger zones. Ensure you observe them.
While the blade is spinning, ensure you don’t reach under it.
Allow the blade to finish a cut before lifting it.
5.2 Get to Know Your Miter Saw
Before using the miter saw, you should know the exact difference between a miter, bevel, and compound cut. It is also ideal to understand your miter saw by flipping through the pages of your user manual. Also, find out the location of all the adjustments and locks.
Miter Cut: As we said earlier, a miter cut is a cut you make at any angle (except 90 degrees) on a workpiece. Woodworkers or cutters make a miter cut by explicitly placing the saw blade horizontally at the material’s plane, and it goes through the length and width, not its depth.
Bevel Cut: Like the miter cut, you also make the bevel cut at any angle other than 90 degrees, but it cuts right across the thickness of a material instead of its length and width. More so, you make the angle cut close to the face of the workpiece or material, and usually, you use a straight edge cut as measurement.
Compound Cut: We could see the compound cut combining the miter and the bevel cut. It is so because it consists of both the miter and bevel angle. This cut functions based on two simultaneous angle cuts, which are ideal for molding and crown cutting.
5.3 Calibrate Your Saw
5.3.1 How to Calibrate A Miter Saw
To calibrate your miter saw,
Inspect the blade:
You must ensure you thoroughly inspect the crosscuts, miters, and bevels, and they should be as tight as they should be. If not, you might have a dirty or bum blade.
Cautiously spin the blade and keep your eyes peeled for bends, wraps, or other problems.
If you notice any irregularity that could eventually mar or dull your blade’s cut, you could try adhesives, solvents, and other homemade concoctions to restore the sharpness.
Table It:
It is another process you should take note of. Numerous tool manufacturers ensure their miter saw tables have high tolerances. But there is a low tendency that an older saw will possess an untrue table. You should ensure you test its authenticity.
To test it, position a perfectly flat level on edge across the table. Then, vividly inspect for any form of gaps that may be between the table and the group. You could also slide a sheet of paper underneath the level to get a good result. It would help in revealing gaps that you may not be able to see.
If some sheets of paper can perfectly fit in the gap, you could take the table for grounding, scraping, or pressing at a machine shop. However, if the gap is too broad, you should probably get a new replacement.
Square Up the Fence for Good Miters:
Most times, your miter saw fence might not be square to the table. Kickbacks and some forms of misuse could take it out of its proper alignment. To be sure you have squared up your fence, pull down the blade to the least depressed position, then use the pin to lock the arm in its place.
Ensure you reference the square of the blade’s body and not its teeth. The user manual will surely guide you on which screws you need to adjust if the miter scale needs adjustment.
Take it To the Next Bevel:
To up the bevel angle, you use the 45o or hypotenuse of your square, tilting the saw to a 45-degree angle. If you discover a gap between the saw blade and the square’s 45o, bring the bevel into proper alignment with the bevel adjustment bolt (usually near the miter saw’s back).
A Quick Note:
Many miter saws come with miter gauge scales that are immovable, and they also feature offensive numbers and marks on the metal. You can take the liberty to loosen the screw fitted on the indicator to make a little adjustment.
Checking Your Work:
Once you have ensured that the bevel angle is apt and the fence is square, critically observe the miter gauge. If it doesn’t match your adjustments, you can easily align the indicator with a Phillips head screwdriver in numerous cases.
5.4 Set Your Miter Angle
Set your saw to an angle of 45 degrees
Confirm or verify your grade by taking test cuts
With a reliable square, check the resulting corner to see if your test cuts meet at a right angle
5.5 Set Your Bevel Angle
Loosen the knob of the bevel lock
Move the saw arm to the preferred angle
When the indicator finally points to your needed rise, tighten the bevel lock
5.6 Set Your Compound angle
Place the workpiece on the table against the fence
Set the pitch and slope
Adjust the board’s position on the table
Power up the saw
Prepare to make the cut
5.7 Make the Cut
After observing the processes above, you can go in for the precise cut. Power up the saw and let it meet the wood.
5.8 Dust Extractor, Bag, or Bare?
First, it is difficult for a miter to collect dust because the miter saw will spray dust in all directions when cutting through the material. Connect a dust extractor or a wet/dry vacuum to curtail the mess.
If the wind direction is favorable, you can work outside without needing any dust extractor.
6. What to Look for When Buying a Miter Saw
6.1 Saw Type
Typically, miter saws fall under three categories: stationary compound, sliding compound, and sliding dual compound. Generally, the price of a miter saw is equivalent to how sophisticated it is. Of all three categories, sliding compound miter saws are ideal blades.
It is because it can function as the other two we mentioned.
6.2 Power Source
Most miter saws come with 10, 12, or 15-amp motors. But you can use a highly-powered engine if you work with wide crosscuts and hardwoods. However, for composite materials, a less powerful motor will do.
6.3 Blade and Crosscut Capacity
It would help if you also considered this; it also depends on the nature of the job you are handling. Typically miter saw blades come in 8-1/4-, 8-1/2-, 10-, and 12-inch diameters, and a knife with a bigger diameter makes a more extended cut. On the contrary, a blade with a smaller diameter makes a shorter cut. Your edge crosscut capacity choice depends on what you want to handle.
6.4 Angle Ranges and Detents
As much as some saws vary in miter and bevel ranges, all saws should cut at a 45-degree angle. However, it is ideal to go for saws with positive stop detents. Put, and a detent is a catch that locks a mechanical movement until its release. So, it would help if you are looking for a saw with a smooth, simple detent.
6.5 Cut Guide
A laser beam will be the best bet in guiding how you cut. So, it would help if you got a laser and a miter saw.
6.6 Fences and Material Support
The fence helps in securing the wood during the cut. Ensure the material is stable and pressed against the wall before you begin the border.
6.7 Dust Extraction
You will need a dust extractor to curtail the sawdust flying in different directions.
6.8 Notable Features and Accessories
It would help if you went for a miter saw with an arm lock, a handle situated at the saw’s top, and extendable material support. It makes using it quite easy. Not to mention, it must be quite handy.
6.9 Safety
It would help if you didn’t compromise your safety while using a tool, especially a miter saw with an exposed spinning blade. Ensure you are on the necessary protective wear and keep the preventive measures listed above.
7. Should I Buy a Corded or Cordless Miter Saw?
Well, both have their specific advantages. The plug-in corded models offer more sustainable power, unlike the cordless ones. On the other hand, cordless miter saws allow you to work where there is no available plug-in outlet.
Thus, if you need a miter saw that you could use to work from one place to another, you should procure the cordless model. However, a corded model will do fine if you work at a specific location with very few power outlets.
Summary and Final Thoughts
Miter saws are tools we use for numerous constructive jobs, and they have a position in every professional carpenter’s or woodworker’s toolkit. If you are looking for the right manufacturer to patronize, look no further. NC Cutting Tools are here with the best types of miter saws on the market.