
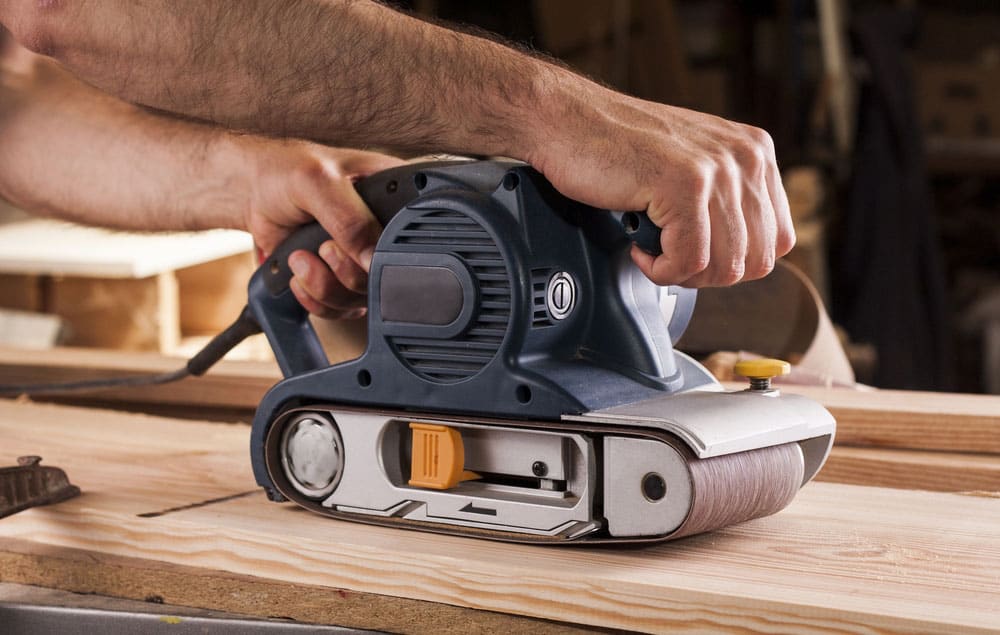
About Belt Sander Troubleshooting. It’s not uncommon to have problems with a sander. However, whether these problems manifest as visual defects in the machine itself or your workpiece, they cannot be easy to identify or troubleshoot. This article will help you learn how to identify and resolve belt sander problems so you can sand your workpiece efficiently.
It’s not uncommon to have problems with a sander. However, whether these problems manifest as visual defects in the machine itself or your workpiece, they cannot be easy to identify or troubleshoot. This article will help you learn how to identify and resolve belt sander problems so you can sand your workpiece efficiently.
1. Machine/Abrasive Maintenance Issues
A Broken or Damaged Belt
- Excessive Loading
Clean your workpieces: any dirt and debris can stick in your machine, causing loading problems. Make sure your workpieces have a uniform thickness and use the proper grit sequence.
- Bad Belt Joints
Check to ensure the conveyor belt is moving in the right direction. Some belts can move in both directions, while others can only move in one direction.
- Storage, Packing, and Shipping Damage
Unpack new belts carefully and asses to confirm they arrived undamaged. When it comes to storage, hang them up. Keeping them on the ground (concrete floor) will likely absorb the moisture underneath.
- Incorrect Belt Backing
Choose the right belt backing based on your needs. The belts with a cloth abrasive are more durable and can’t break or tear up easily. Belts with a paper backing are less durable but are likely to give a smooth finish.
- Improper Tracking
Belts that don’t track properly tend to misalign while running. Therefore, they are likely to break or wear out prematurely. Below, we have dedicated an entire subsection about some causes and possible solutions.
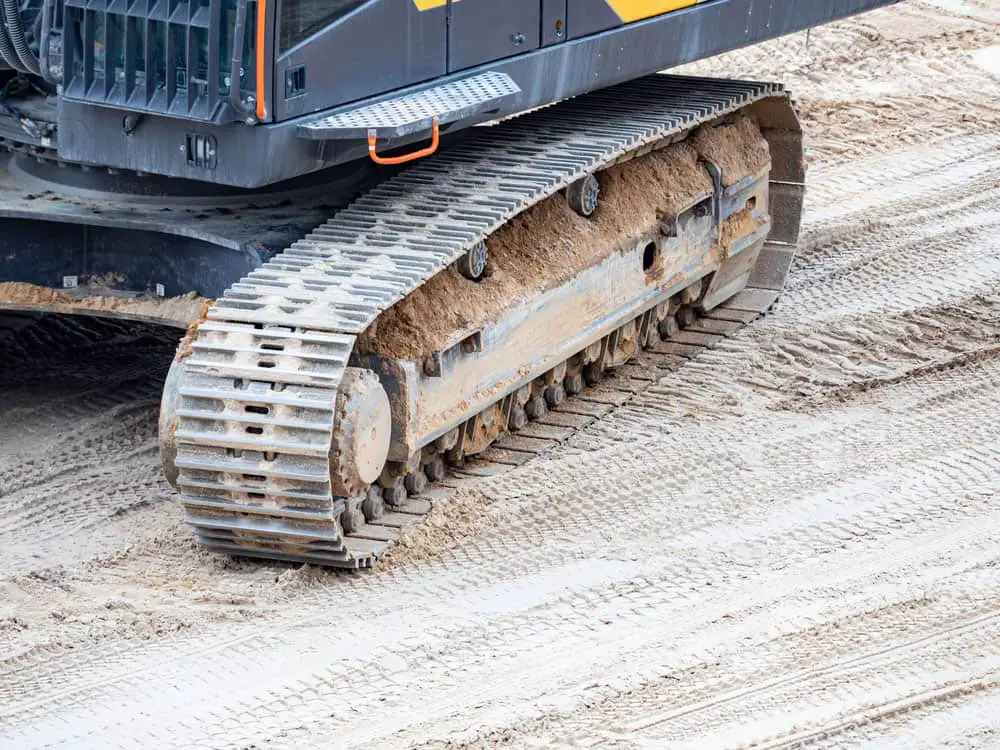
Improper Belt Tracking
Proper belt tracking on an excavator digger with continuous tracks.
- Blocked Laser Eye
Check if the laser eye is blocked and wipe it clean – so it’s dust-free and fit for the job.
- Incorrect tension pressure
Set the tension force to the recommended value. A value that’s too high will likely overwhelm the tracking cylinder, and a value that’s too low will have an insufficient pull, compromising the belt’s ability to stay in line.
- Removal rate problems
Refrain from removing excessive material in one pass. A higher removal frequency could dislodge the belt.
- Incorrectly cut belt
Assess your belt and make sure it’s cut properly. If it’s cut incorrectly, it could cause tracking issues.
- Abrasive Material Storage Problems
Store your belts by hanging them. They will likely absorb moisture and lose shape if you store them on the floor.
- Unparallel or uneven rollers
Check to ensure your rollers are parallel or even. To determine if they’re parallel, measure them with a digital indicator and adjust accordingly. If you have uneven rollers, flatten or recoat them before installing them.
Belt Sander Troubleshooting: Belt Burning or Overloading
- Removal Rate
Stick to your grit’s removal rate – each grit works by taking out a certain amount of material. So, don’t remove excessive material in one pass, and be careful to skip no more than one grit in a sequence.
- Worn Belt
Replace belts that are too old with frayed edges and broken joints. However, if the belt wears out prematurely, there could be other common issues causing it, and you might want to inspect it for the same.
- Abrasive Material Storage Problems
When storing your sander belt, hang it up, so it doesn’t soak up moisture and lose shape. Improper storage can cause burning and load issues.
- Resin Buildup
Check to ensure your workpieces are glue- or resin-free. Sanding produces heat, which could melt the resin or glue (if any) on your workpieces, spreading the mess onto the belt. It can burn the belt or cause load issues.
- Using the Same Entry Point When Sanding
Use different entry points when sanding your workpieces. If you use the same entry point, you risk wearing out your belt around the point, causing load and burning issues.
- Compensation For Machine Issues
Assess your power tool for potential mechanical problems, including a damaged extraction system, faulty feed system, damaged contact roller, and poor alignment between the sanding unit and feed system. These machine issues could cause load and burning issues.
- Quality Variation in Workpieces
Low-quality workpieces can compromise the performance of your sander. So, before sanding your workpieces, ensure they are dry and free from glue buildup. Check to ensure your workpieces have sufficient edge milling as well.
Belt Sander Troubleshooting: Dust Accumulation (Due to Static Electricity)
- Static electricity
Use a static meter to test your belt’s static electricity. If the reading is more or less than 1, the static electricity is too much, and you need to ground your sander. To do this, attach a copper rod (or electrode) to your sander’s conveyor belt. Then dig the rod into the ground to discharge electrons, decreasing static electricity.
- Climate Issues
If the temperature in your workshop is cold, raise it. Cold temperatures have low humidity, creating a conducive environment for static electricity.
- Dust extraction system
Check to ensure your dust extraction system isn’t clogged – clogged systems lead to low suction/airflow. Then measure the airflow using an airflow meter. If the reading doesn’t match your manufacturer’s specifications, fix or replace the system.
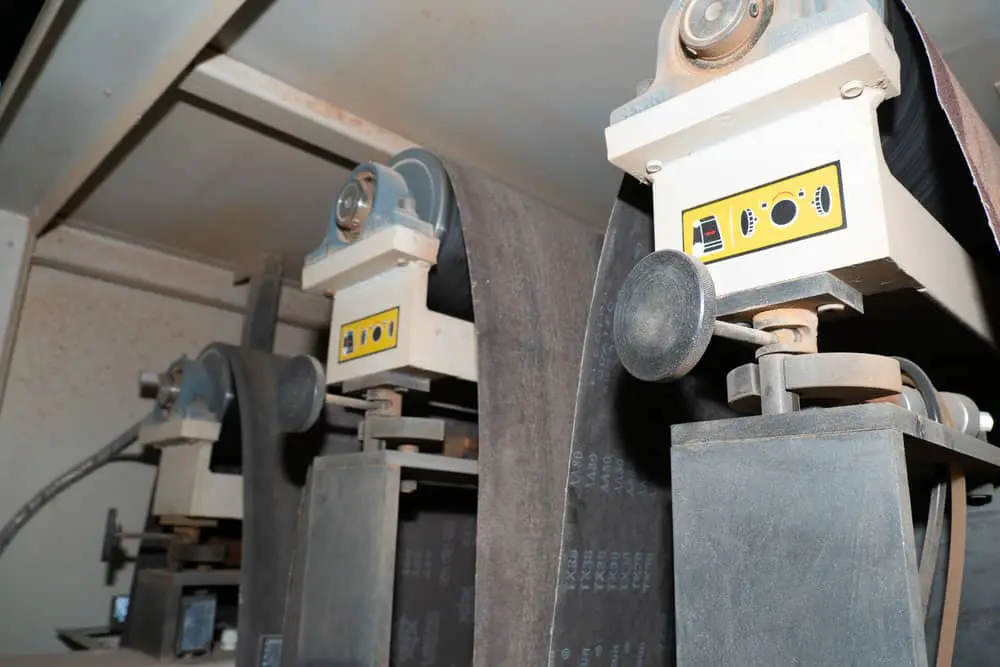
2. Wide Belt Sander Visual Defects
A wide-belt sanding machine.
Belt Sander Troubleshooting: Chatter Marks
- Incorrect Or Worn Contact Roller
To avoid chatter marks, use the right roller for your application. If you’re looking to remove stock, for instance, use a metal roller. Also, check to ensure your roller is not worn out and is not out of balance.
- Incorrect Belt Joint Style
Make sure your belt has the right joint style. In addition, the tape that’s holding the joint should not be overly thick. Use the formulas below to determine whether the chatter marks result from a roller or belt joint problem.
Roller Formula
[(belt length, mm) x (feed speed, m/min)] / [(belt speed, m/s) x 60 x (number of joints)] = Distance between fault marks in mm
Belt Joint Formula
[(circumference of roller, mm) x (feed speed, m/min)] / [(belt speed, m/s) x 60] = Distance between fault marks in mm
- Wrong Tension Pressure
Set the correct tension force based on the type of your sanding belt. Aim for a tension force of 65-85 Psi if your sander has a polyester belt.
- Worn Bearings
Check to ensure your roller has energized bearings. If the bearings are too old, they’re likely to cause chatter marks, although this is not common.
- Worn Conveyor Belt
Clean the conveyor belt to remove foreign particles responsible for friction and wear and tear.
Industrial conveyor belt.
- Improperly Adjusted Hold-Down Rollers
Readjust your hold-down rollers and ensure they match the sanding application and the thickness of your workpiece.
- Improper Grit Sequencing
Use the recommended stock removal rate and right grit sequence if your sanding machine is a multi-head. Make sure to skip no more than one grit in the sequence.
Belt Sander Troubleshooting: Wavy Surfaces
- Soft or Damaged Roller
Check to ensure the roller is not too soft or damaged.
- Too High Sanding Pressure or Removal-Rate Problems
Work with low sanding pressure, and refrain from removing too much stock.
- Excessive Belt Loading
You may have already seen that we have discussed common causes for belt overloading and how to fix them – under the “Belt Burning or Overloading” subhead. You might want to scroll up and re-read them.
- Unsuitable Grit Combination
Review your grit choices and consider combinations outside the 80-to-150 and 100-to-180 ranges.
Belt Sander Troubleshooting: Ridges (raised lines)
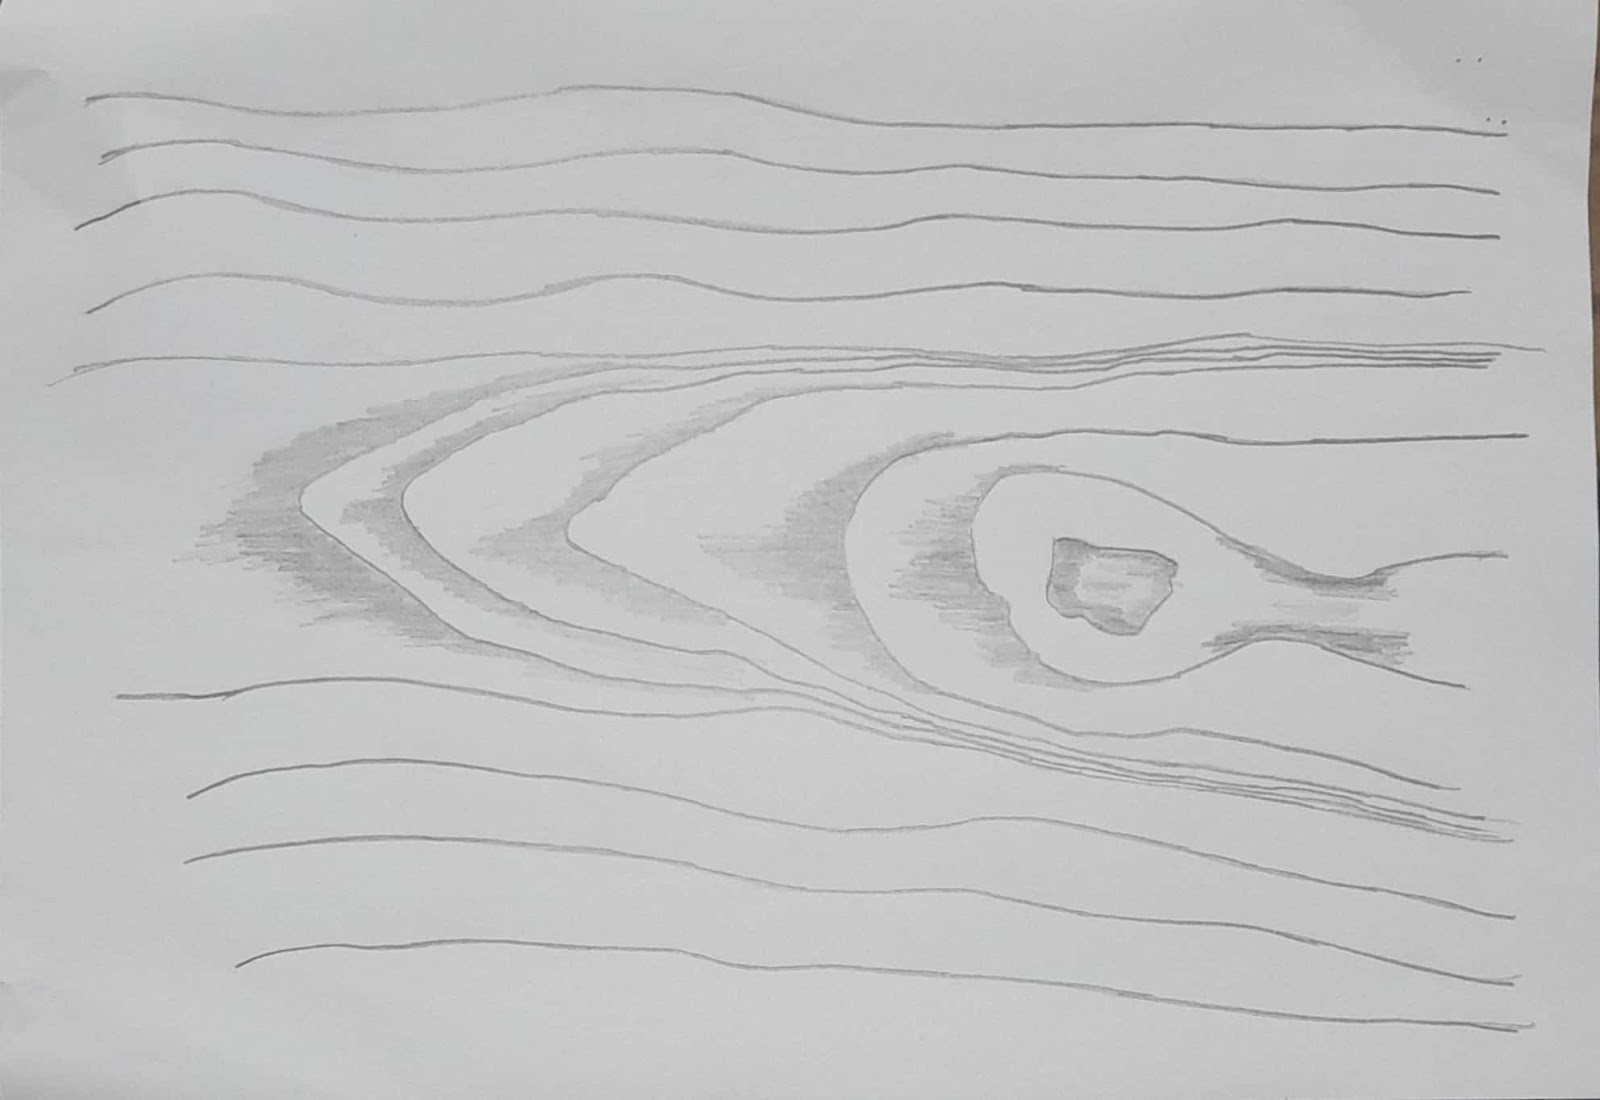
Ridges (raised lines) appear on a sanded workpiece.
- Short, close ridges in a step formation
Reduce the sanding pressure
Check to ensure the pad isn’t too wide or too hard
Unclog the belt
Increase the belt speed
Remove the recommended amount of stock
- Medium-length ridges spread apart in a random formation
Check to ensure the belt speed is not too high or too low
Reduce the sanding pressure
Ensure a seamless dust extraction process
Remove the recommended amount of stock
Clean the belt properly
- The wavy line along the length of the workpiece
Fix the abrasive grains – they are likely compromised by the impurities in the workpiece.
Check that no part of the belt is clogged.
- A single straight line running the length of the piece
Work with a contact roller that’s not faulty
Check to ensure the graphite cloth is not damaged
Decompress the felt
Scratches (grooved lines
Scratches (grooved lines) appear on a sanded workpiece.
- A single straight line spanning the length of the piece
Use uncontaminated graphite cloth and pressure beams.
- Short parallel lines in wave formation
Check that the belt joint is not contaminated and that there are no cracks in the abrasive coating.
- The dashed line along the length of the workpiece
Clean the pressure rollers.
Conclusion
Now we’re sure you know what to do when troubleshooting sander problems. Still, if you have any questions, don’t hesitate to contact us.