
You’ve watched other people using a drill before, and it seems like a simple job. However, once you took the tool into your hands, you realized that drilling takes practice.
If you want everything to go smoothly, you should handle the drill properly. However, it is also crucial not to do anything wrong. Let’s look at the 12 most common drilling errors and what you can do to avoid them!
Table of Contents
- Chapter 1. Choosing the Wrong Tool for Your Needs
- Chapter 2.Picking an Unsuitable Drill Bit for the Job
- Chapter 3. Not Knowing When to Use the Hammer Setting
- Chapter 4. Not Using a Lubricant
- Chapter 5. Not Knowing a Suitable Speed for the Application
- Chapter 6.Covering Vent Holes During Operation
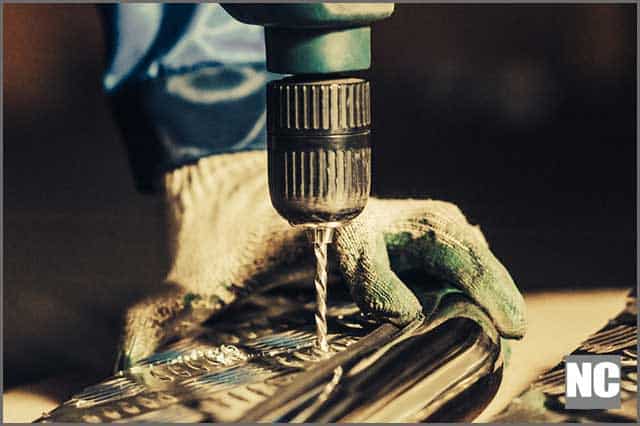
- Chapter 7.Breaking the Drill Bit
- Chapter 8. Not Cleaning the Tool Regularly
- Chapter 9. Not Drilling a Pilot Hole
- Chapter 10. Setting the Drill to Reverse
- Chapter 11. Not Checking Battery Life
- Chapter 12. Not Taking Your Charger with You
- Final Thoughts
Chapter 1. Choosing the Wrong Tool for Your Needs
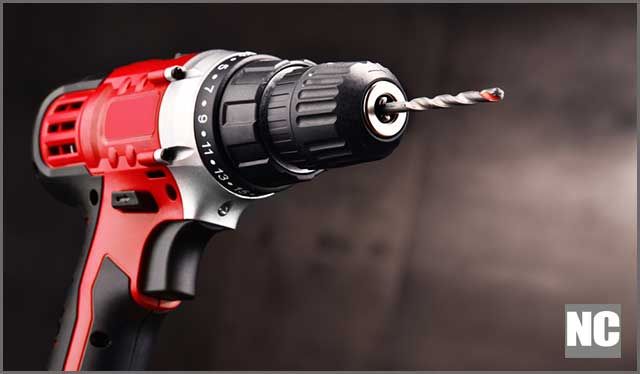
Caption: Cordless drill working
The first thing that you want to do is to ensure you picked the right tool. Are you a professional who frequently works at job sites? In that case, a light and cordless drill is the best fit. These tools are easy to move around from one place to another. When transporting them, they don’t take much room in the trunk of your car. You can also operate cordless drills for a long time and avoid fatigue, making them suitable for frequent operations.
However, a stationary power tool will do the trick if you don’t plan on working with your drill anywhere but in your garage. These require using a nearby electrical outlet as a power source, but they provide a lot of rewards. These drills are more versatile and suitable for drilling through hard materials.
Ultimately, it is all about suitability. Consider your needs, and pick the drill that will meet your expectations in the upcoming project.
Chapter 2.Picking an Unsuitable Drill Bit for the Job
Caption: A metal drill bit making holes
The bad news is that you can’t use the one-size-fits-all formula for drill bits. A standard strength bit will do if you cut through wood or plastic. However, you will need a strong drill bit if you are dealing with marble or other hard applications.
Here are some common examples of bit materials to use:
• Carbon steel – depending on the quality, it is suitable for light applications like wood and plastic, and high-quality bits can also handle stronger materials.
• High-speed steel – also known as HSS– is heat-resistant and strong. That makes it suitable for steel, wood, and metal applications.
• Cobalt is a high-speed drill bit with more cobalt than the previous material. Thanks to that, it is even harder and suitable for strong applications.
• Carbide is frequently used in industries to drill through iron, abrasive materials, and heavy metal.
• Diamond – the hardest material for a wide range of applications. That includes the strongest materials like ceramic, stone, marble, etc.
If you want to improve performance and prolong the durability of the drill bit, you can also choose a suitable coating. The most common choices include titanium, cobalt, zirconium, and black oxide.
Chapter 3. Not Knowing When to Use the Hammer Setting
The hammer setting is a convenient feature that improves the drill’s versatility. However, that doesn’t mean you should always keep it activated. Using it in the wrong circumstances can cause problems and damage the bit or the drill itself. That is why it is important to consider your project’s specifics before activating the hammer setting.
According to experts, masonry is the material you want to cut with the hammer function. The setting will make the process easier than usual and ensure optimal results. The most common examples of masonry include granite, marble, concrete block, brick, etc. The hammer function is a great fit for them, and you can’t go wrong with activating it.
However, if you activate the hammer option on your drill for wood, you can expect problems! The odds are you will destroy the bit, and your tool might be affected, too. Using the hammer function won’t leave a clean hole after drilling wood or steel. You should also avoid using it on tiles you don’t want to smash!
Chapter 4. Not Using a Lubricant
As you drill through an application, that creates heat. Depending on various factors, such as the drill bit you use and the material’s specifics, you can quickly generate a lot of heat. That is why it is important to prevent overheating issues. These could damage the workpiece, drill bit, and the tool itself.
Since you don’t want that to happen, it is essential to use a lubricant. A lubricant is usually water mixed with abrasive substances, and you can find it in professional stores. It is critical to use the lubricant on the drill bit whenever necessary. The task of this substance is to cool the bit down and ensure everything goes smoothly during the drilling process.
Chapter 5. Not Knowing a Suitable Speed for the Application
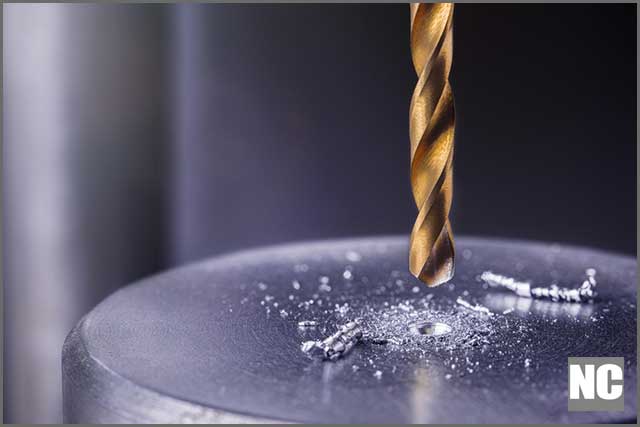
Caption: Choosing the right speed when drilling metal is important
Beginners usually don’t have patience when drilling. That is why they are looking for ways to shorten the drilling process. It causes increasing the speed settings when that’s not the right move to make.
You might think that high speed is imperative for tough applications and materials. However, that is the wrong approach because you can cause a breakage of the drill bit and other issues. Drilling experts know that the harder the application, the lower the tool’s speed. The process might take a bit longer, but you secure excellent results and prevent any problems.
As for light materials, feel free to choose high-speed settings. That is desirable because you want an even and consistent hole. If you slow the process down too much, the result might not be as expected.
Chapter 6.Covering Vent Holes During Operation
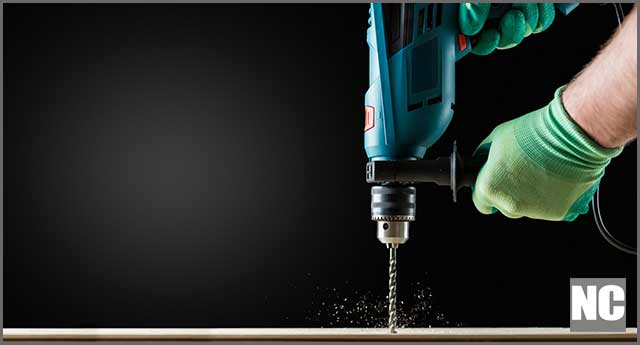
Caption: Drilling wooden plank with vent holes uncovered
Whether your drill uses a battery or electricity as a power source, it is equipped with a motor. The motor allows the drill bit to spin quickly, enabling the tool to operate. While the tool works, the motor will heat up, which is normal. It is why the manufacturers add ventilation holes to the product. That is how the motor has enough room to cool down and maintain optimal temperature.
But what happens if you cover the vent holes? It can cause problems with the motor and overheating issues. That could ruin your drill and require motor replacement, which is expensive.
Take a look at your drill and find where the vent holes are. Their usual position is at the opposite side of the drill bit or above the handle. Depending on the project, you might need to change how you grab the drill. However, whatever you do, always avoid covering vent holes.
Chapter 7.Breaking the Drill Bit
Nobody wants to break the drill bit while working, but that happens frequently. Beginners face this problem more often, but even experienced drillers will break a bit occasionally.
Take a look at some tips that will minimize the odds of this happening:
- Always buy a high-quality drill bit
- Make sure you pick a suitable bit for your next project
- Never use too much pressure while drilling
- Clean the bit regularly to avoid residue causing problems
- Check if the tip of the bit is sharp – it might need re-sharpening
- Don’t use a drill with too much wear and tear damage
It comes down to choosing a suitable drill, using it correctly, and maintaining it properly.
Chapter 8. Not Cleaning the Tool Regularly
Caption: Drilling – the importance of cleaning your tool
If you want a product to work well, you should clean it regularly. That is a rule you should stick to when it comes to drills. These tools make holes in various applications, and the drilling process creates waste. That waste ends everywhere, from the working surface to the floor and the drill itself.
Now, imagine that you’ve been drilling steel or another metal and got wasted on your drill. You move to a light plastic or wood application, and the steel residue causes an uneven hole. And that’s your least problem because this waste can hurt the performance and damage the tool.
Once you finish using the drill, it is essential to clean it. That means removing the waste from the bit, the chuck, ventilation holes, and anywhere you notice residue. If you do that, the tool will serve you for a long time and provide consistent results.
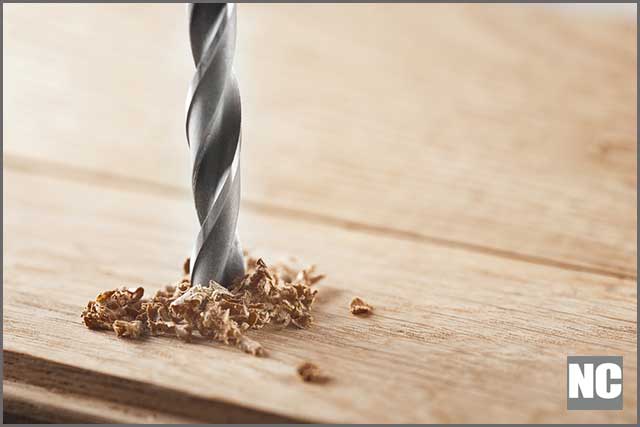
Chapter 9. Not Drilling a Pilot Hole
Caption: A person drilling laminate with a power drill
Have you ever heard of a pilot hole? You drill a hole as a pre-requirement for your drilling project. If you want to place a nail or a screw in an application, a pilot hole will help you maintain maximum accuracy. And if you are drilling a big hole, making a small one first can also keep your accuracy at the highest level.
Not everyone is experienced enough to drill a bigger hole at once. A single wrong move and you end up with a big hole in the undesired position. That is why you start with a small hole and then increase it gradually.
Chapter 10. Setting the Drill to Reverse
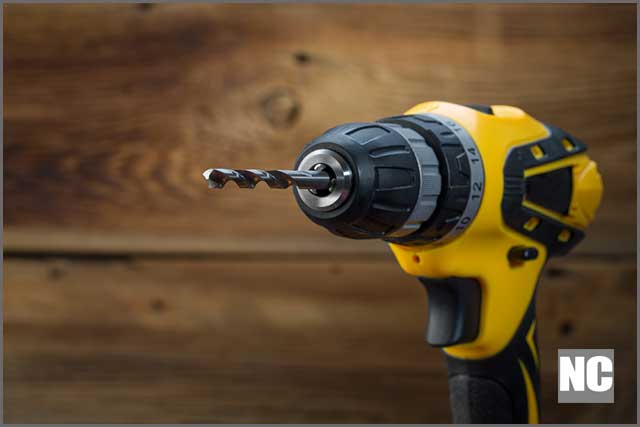
Caption: Electric drill on a wooden background
Your drill probably has a reverse function, which allows you to remove stuck screws if necessary. But you need the default function if you plan to make a hole for the screw.
Before drilling through the application, activate the drill in the air. Make sure to keep it safely in your hand during the process. The standard drills should rotate to your right side if you are preparing to drill through a material. If the reverse function is activated, it will rotate to the left. Double-check to ensure you got everything set right before you start drilling.
Please note that left-handed power tools are different. These drills rotate to the left for drilling and to the right for removing screws.
You don’t want to use the wrong settings because that could damage the drill and shorten the longevity of drill bits.
Chapter 11. Not Checking Battery Life
Here is a mistake that applies only to those who use cordless drills. These tools are excellent for transport and suitable to carry around the house or job site. Their problem is that they can’t work without a charged battery. Users frequently forget to check their battery life, which causes the drill to stop in the middle of the project. That requires taking a break while you allow the drill to charge so that you can continue with the work.
If you have a project planned for today, it is smart to check the battery life of the drill a couple of hours before you start working. The charging time varies from one tool to another, but it is always smart to have a drill completely charged. That is especially true if you plan on handling demanding and complex projects.
Chapter 12. Not Taking Your Charger with You
It is another mistake that newbie drillers frequently make related to working at job sites. If you plan to work outside, that doesn’t mean you won’t have electricity available. That is why it is wise to take your charger with you.
You might have checked the battery life of the drill. It might seem enough to complete the project, but what if something goes wrong or you are asked to do more work? The drill might run out of battery, and you can’t continue working. The solution is to return home for the charger, which is a hassle that takes time and effort. That is why you should always take the charger wherever the drill goes.
Final Thoughts
If you are a newbie, you now know which traps to avoid to ensure everything goes smoothly during the drilling process. However, don’t forget that everything starts with choosing the right tool for the job.
Those looking for high-quality, durable, and reliable tools should check out NCCutting Tools. The company has over two decades of production experience, modern equipment, and skillful staff. They carefully listen to your requests and turn your tool-related desires into reality. On top of that, the company offers affordable rates to customers worldwide. Whether a DIY enthusiast or a professional, you will love their products!